Introduction
Create an API that can parse and classify names and addresses given a string. We tried probablepeople and usaddress. These work well separately but need the functionality of these packages combined, and better accuracy than what probablepeople provides. For the API, I'd like to mimic this with some minor modifications. A few examples:
- "KING JOHN A 5643 ROUTH CREEK PKWY #1314 RICHARDSON TEXAS 750820146 UNITED STATES OF AMERICA" would return type: person; first_name: JOHN; last_name: KING; middle: A; street_address: 5643 ROUTH CREEK PKWY #1314; city: RICHARDSON; state: TEXAS; zip: 75082-0146; country: UNITED STATES OF AMERICA.
- "THRM NGUYEN LIVING TRUST 2720 SUMMERTREE CARROLLTON HOUSTON TEXAS 750062646 UNITED STATES OF AMERICA" would return type: entity; name: THRM NGUYEN LIVING TRUST; street_address: 2720 SUMMERTREE CARROLLTON; state: TEXAS; city: HOUSTON; zip: 75006-2646; country: UNITED STATES OF AMERICA.
Modeling Approach
List of Entities
List of Entities A - Person, Household, Corporation
List of Entities B - Person First name, Person Middle name, Person Last name, Street address, City, State, Pincode, Country, Company name
Endpoint Configuration
OOR Endpoint
Input Instance: ANDERSON, EARLINE 1423 NEW YORK AVE FORT WORTH, TX 76104 7522
Output Tags:-
<Type> - Person/Household/Corporation
<GivenName>, <MiddleName>, <Surname> - if Type Person/Household
<Name> - Full Name - if Type Person
<Name> - Household - if Type Household
<Name> - Corporation - If Type Corporation
<Address> - Full Address
<StreetAddress>, <City>, <State>, <Zipcode>, <Country>
~~NameConfidence, AddrConfidence~~
Name Endpoint
Input Instance: ANDERSON, EARLINE
Output Tags:-

- <Type> - Person/Household/Corporation
- <GivenName>, <MiddleName>, <Surname> - if Type Person/Household
- <Name> - Full Name - if Type Person
- <Name> - Household - if Type Household
- <Name> - Corporation - If Type Corporation
- ~~NameConfidence~~
Address Endpoint
Input Instance: 1423 NEW YORK AVE FORT WORTH, TX 76104 7522
Output Tags:-

- <Address> - Full Address
- <StreetAddress>, <City>, <State>, <Zipcode>, <Country>
- ~~AddrConfidence~~
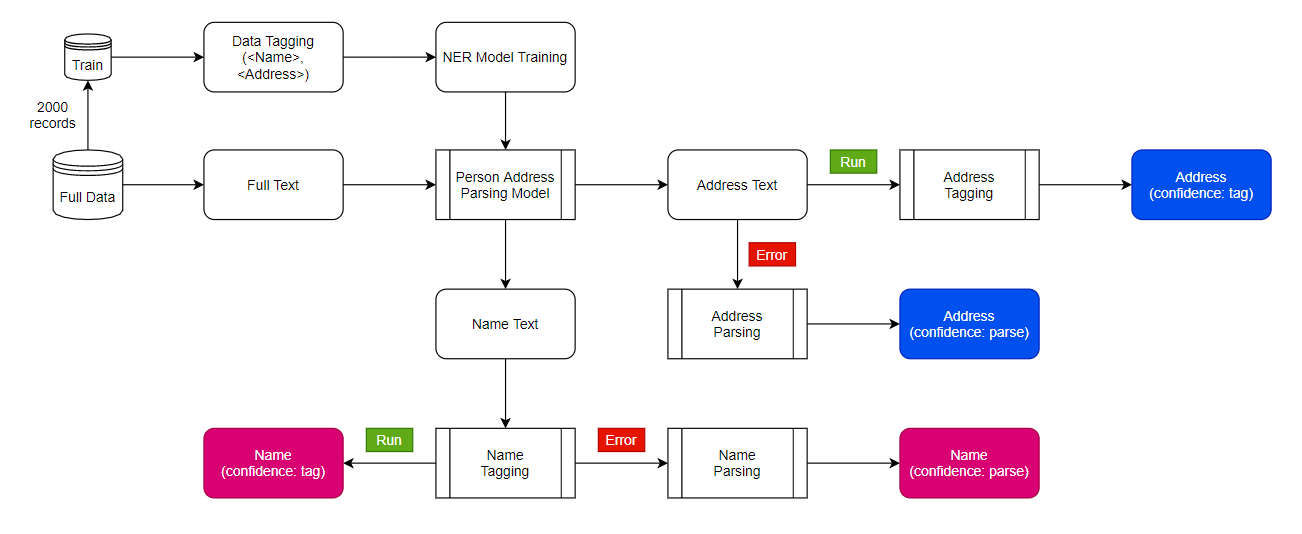
Process Flow
- Pytorch Flair NER model
- Pre trained word embeddings
- Additional parsing models on top of name tags
- Tagging of 1000+ records to create training data
- Deployment as REST api with 3 endpoints - name parse, address parse and whole string parse
Framework
Tagging process
I used Doccano (https://github.com/doccano/doccano) for labeling the dataset. This tool is open-source and free to use. I deployed it with a one-click Heroku service (fig 1). After launching the app, log in with the provided credentials, and create a project (fig 2). Create the labels and upload the dataset (fig 3). Start the annotation process (fig 4). Now after enough annotations (you do not need complete all annotations in one go), go back to projects > edit section and export the data (fig 5). Bring the exported JSON file in python and run the model training code. The whole model will automatically get trained on the new annotations. To make the training faster, you can use Nvidia GPU support.
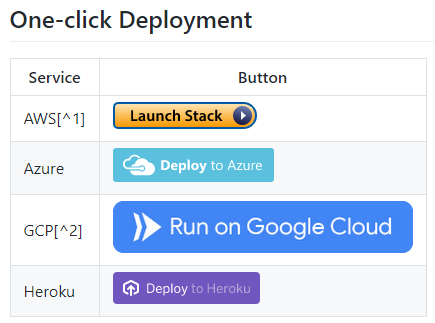
fig 1: screenshot taken from Doccano's github page
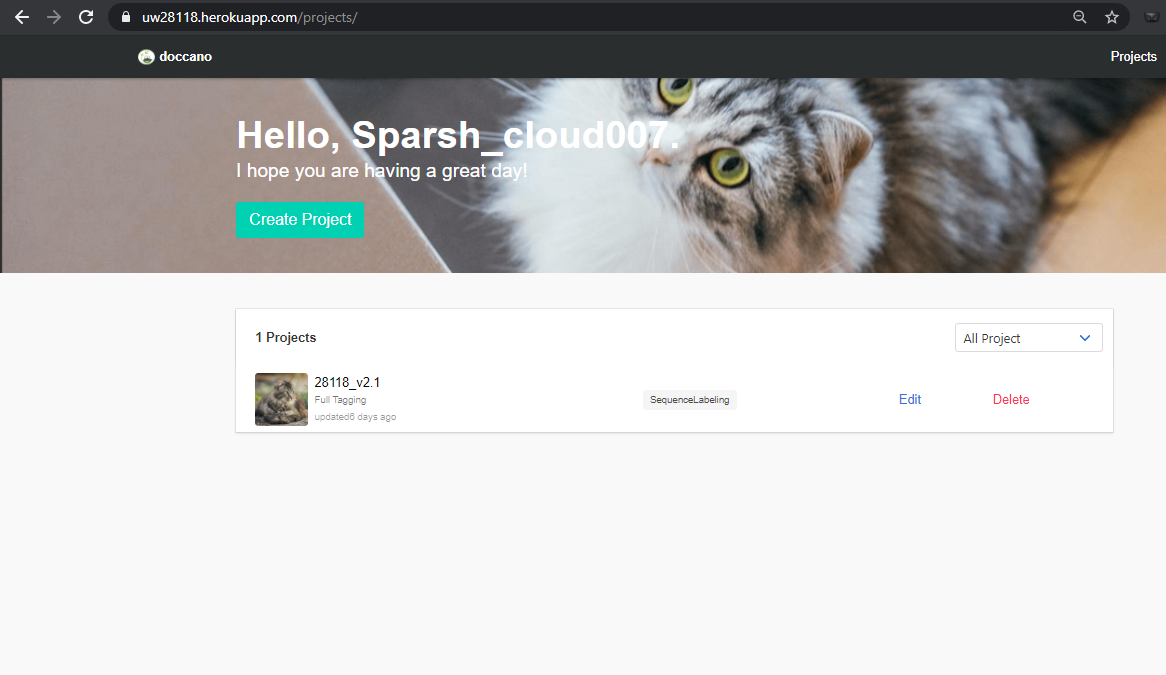
fig 2: Doccano's deployed app homepage
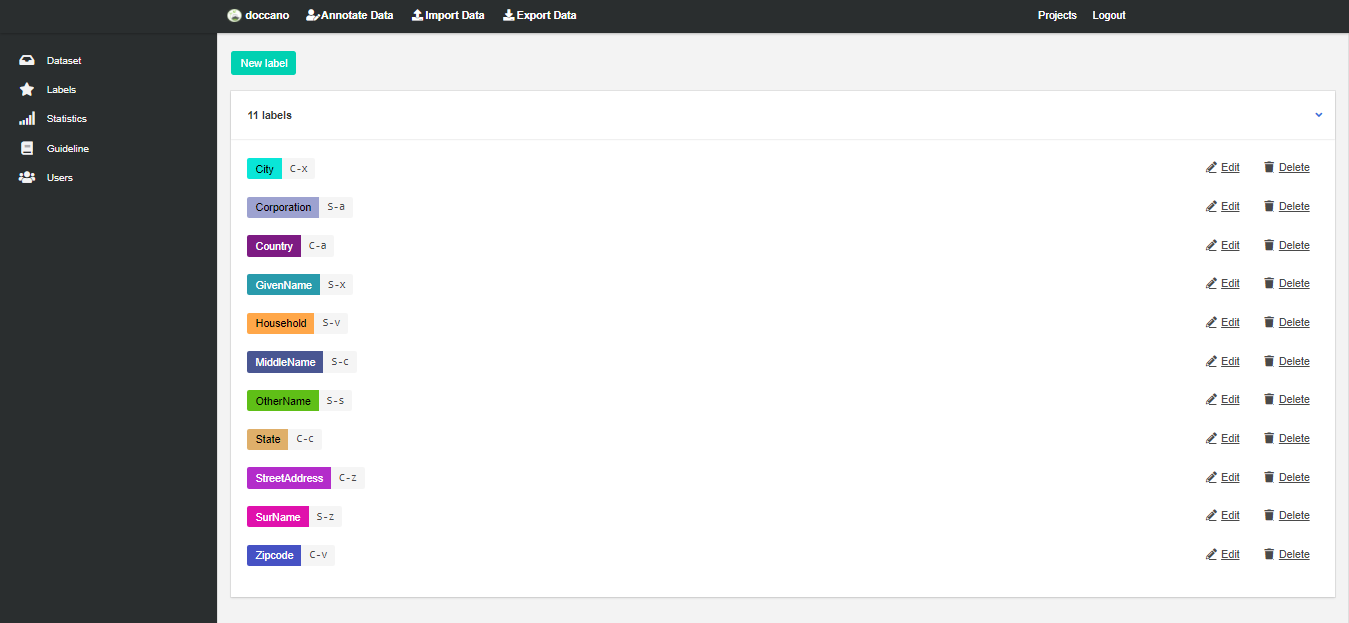
fig 3: create the labels. I defined these labels for my project

fig 5: export the annotations
Model
I first tried the Spacy NER blank model but it was not giving high-quality results. So I moved to the PyTorch Flair NER model. This model was a way faster (5 min training because of GPU compatibility comparing to 1-hour Spacy training time) and also much more accurate. F1 results for all tags were near perfect (score of 1). This score will increase further with more labeled data. This model is production-ready.
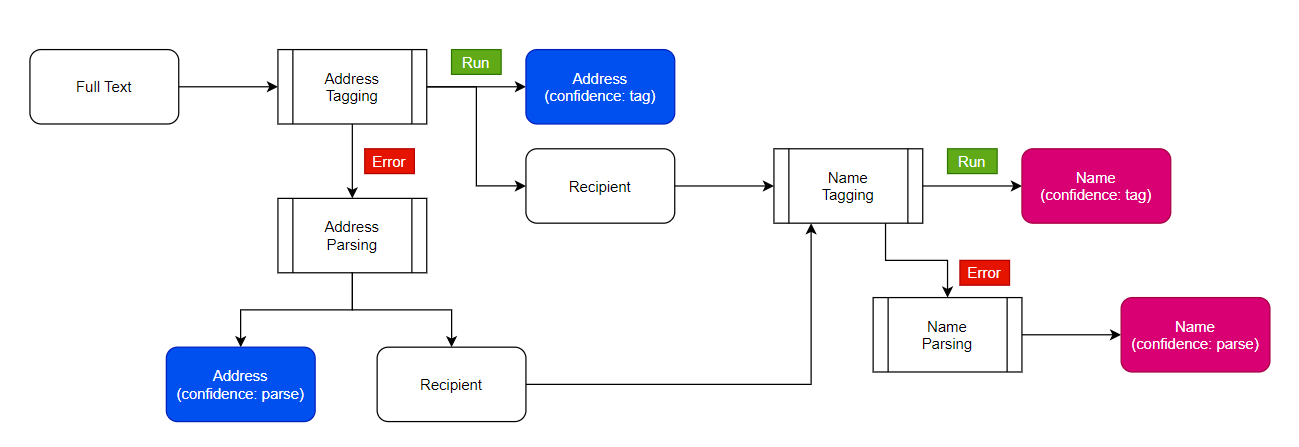
Inference
For OOR, I directly used the model's output for core tagging and created the aggregated tags like recipient (aggregation of name tags) and address (aggregation of address tags like city and state) using simple conditional concatenation. For only Name and only Address inference, I added the dummy address in name text and dummy name in address text. This way, I passed the text in same model and later on filtered the required tags as output.
API
I used Flask REST framework in Python to build the API with 3 endpoints. This API is production-ready.
Results and Discussion
- 0.99 F1 score on 6 out of 8 tags & 0.95+ F1 score on other 2 tags
- API inference time of less than 1 second on single CPU